Product
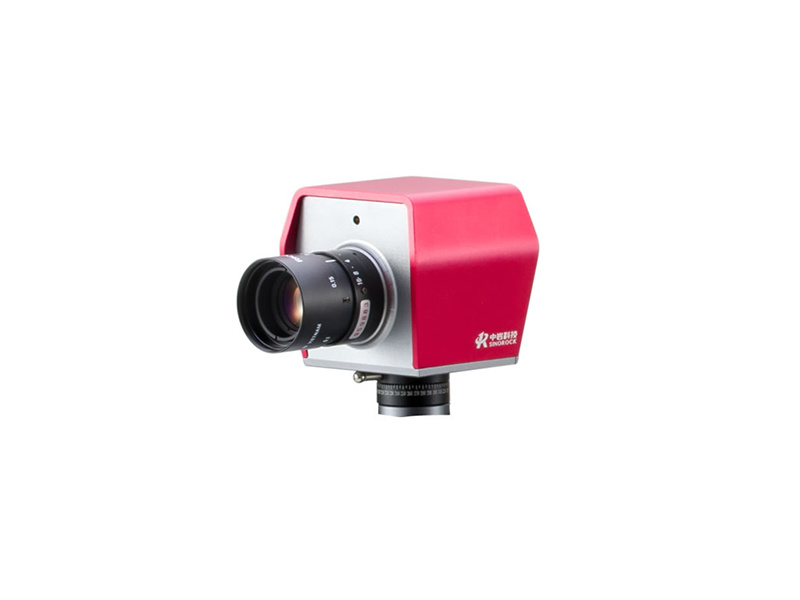
RSM-SMS(A) 3D Strain Measurement and Analysis System
Classification:
A non-contact, full-field 3D strain analysis system using stereo vision and advanced digital image correlation (DIC). Enables real-time acquisition, high-resolution deformation tracking, and 3D reconstruction for comprehensive analysis of materials under dynamic loading.
Cotnact:
Introduction
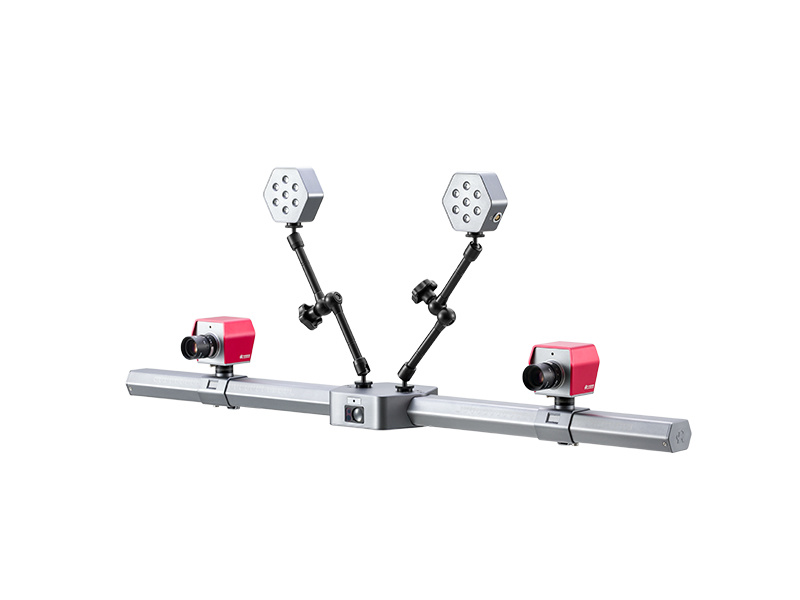
The RSM-SMS(A) 3D Strain Measurement and Analysis System leverages binocular stereo vision with high-speed industrial cameras to capture surface deformation in real time. Utilizing intelligent DIC algorithms, it tracks full-field feature points during testing, reconstructing 3D coordinates to provide accurate strain, displacement, velocity, and acceleration data. The system includes a modular setup with intelligent auxiliary devices—LED lighting, laser alignment, precision-calibrated beams—and user-friendly software for visualized output. It is ideal for full-field, high-speed, non-contact mechanical behavior analysis of various materials and structures, making it a powerful tool for research, quality control, and structural evaluation.
Applicable standards
● Full-field strain and deformation measurement of various materials: metal, rubber, plastics, composites, polymers, geotechnical, biological tissues, etc.
● Coupled with testing machines to measure: stress-strain curves, elastic modulus, Poisson’s ratio, etc.
● Ideal for non-uniform deformation field measurement, both in research and industrial environments.
Application Fields
Material Testing: Young’s modulus, Poisson’s ratio, elastic-plastic parameters
Component Testing: Displacement and strain analysis
Fracture Mechanics Testing: Crack initiation and propagation
Forming Limit Analysis: Sheet metal deformation behavior
Fatigue Testing: Dynamic strain measurement under cyclic loads
Core advantages
Non-Contact Full-Field Measurement
No sample or testing condition restrictions; quickly captures 3D profiles, displacement, and strain results across the entire field.
Real-Time Efficient Calibration
The system supports real-time calibration calculations and result display, offering performance evaluation to enhance measurement efficiency.
High-Integration Design
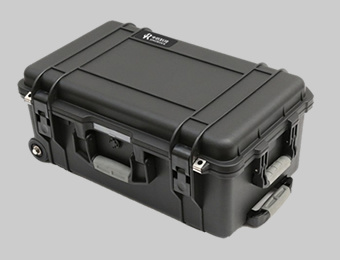
Modular components for easy replacement, enabling mobile testing in different application scenarios.
Strong Expandability
Compatible with various testing machines, distance meters, sensors, and other external devices, supporting multi-mode external triggering functions.
Equipped with Intelligent Assistive Devices
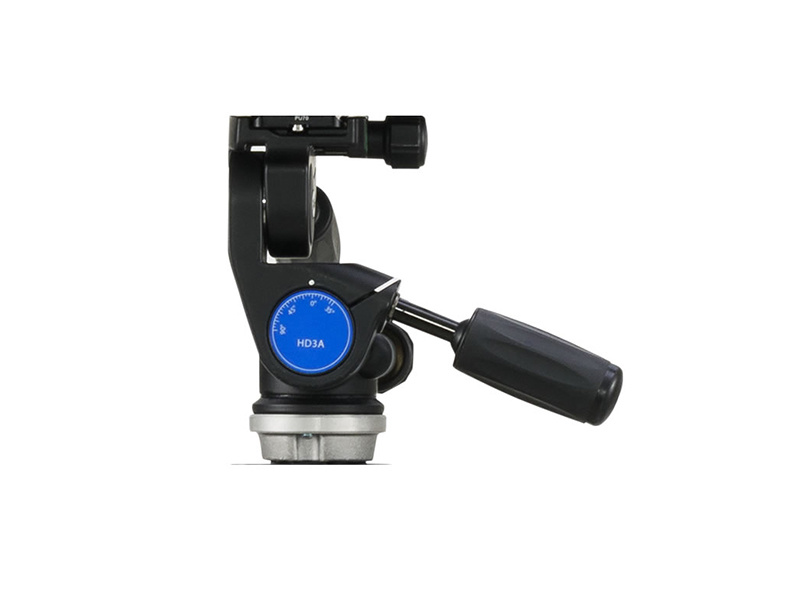
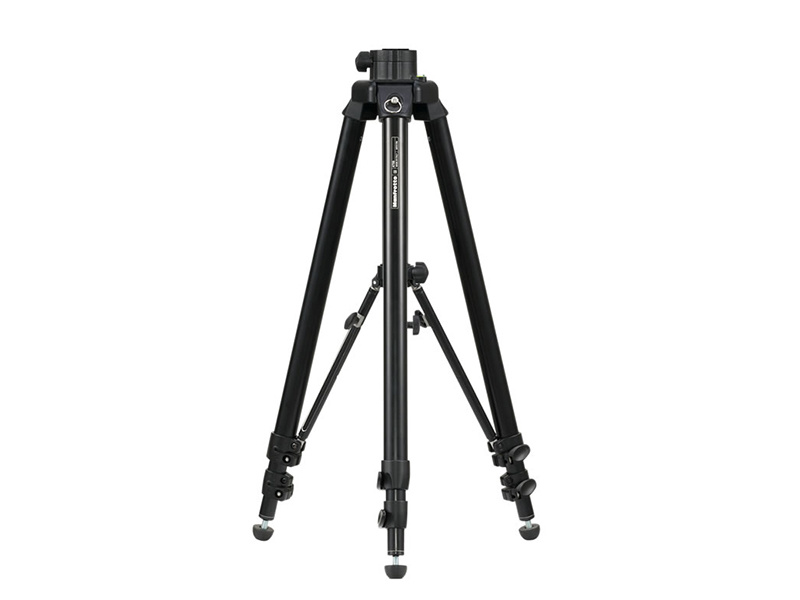
Includes a scale beam, high-precision positioning system, laser lights for fast positioning, HD color camera, and remote control components.
Professional Measurement and Analysis Software
Designed with the latest software architecture, modular functionality, and a user-friendly interface for seamless human-machine interaction.
Technical Parameter
|
Camera Resolution |
5 megapixels |
|
Camera Frame Rate |
75 fps (higher frame rates customizable) |
|
Strain Measurement Accuracy 2D |
≤ 20 με |
|
3D |
≤ 45 με |
|
Strain Measurement Range |
0.005% to 2000% |
|
Measurement Field of View |
200 mm × 150 mm to 10,000 mm × 10,000 mm |
|
Displacement Accuracy |
0.01 mm/m (equivalent to 0.01 pixel) |
|
Temperature Detection Range¹ |
-40°C to 2800°C |
|
Laser Rangefinder Range |
0–100 m |
|
Laser Rangefinder Accuracy |
1 mm |
|
Calibration Mode |
Supports both offline and online dual-mode calibration |
|
Operating System |
Windows 10, 64-bit |
Market Case
Downloads
FAQs
Q
Q4: What additional measurement capabilities does the system have beyond strain?
+
A
A: In addition to strain and displacement, the system can integrate laser rangefinders (0–100 m, ±1 mm accuracy) and temperature detection modules capable of monitoring from -40°C to 2800°C, enabling multi-parameter synchronized testing and broader analysis in complex scenarios.
Q
Q3: Does the system support real-time calibration and what calibration modes are available?
+
A
A: Absolutely. The system offers dual-mode calibration, supporting both offline and real-time (online) calibration, with instant feedback and result validation to ensure consistent accuracy during tests.
Q
Q2: Can the system handle various sample sizes and geometries?
+
A
A: Yes. The system supports a wide measurement field, ranging from 200 mm × 150 mm to 10,000 mm × 10,000 mm, and is not limited by sample shape or size, making it highly versatile for both small-scale material tests and large structural component analysis.
Q
Q1: What is the strain measurement accuracy and range supported by the system?
+
A
The system achieves high precision in both 2D and 3D modes—≤20 με for 2D and ≤45 με for 3D measurements. It supports a strain measurement range from 0.005% to 2000%, suitable for both micro-strain and large-deformation applications.
Keyword:
RSM-SMS(A) 3D Strain Measurement and Analysis System


