Product
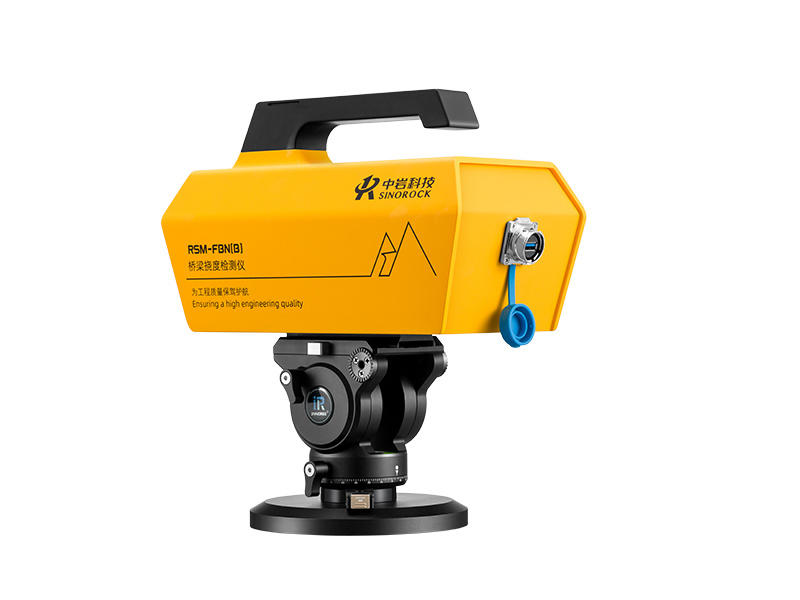
RSM-FBN (B) Non-contact Bridge Static and Dynamic Deflection Tester
National Major Scientific Instrument Project Product, Precisely Capturing Structural Deformation
Classification:
A high-precision, target-free imaging system for real-time deformation measurement of bridges and structures, offering millimeter-level accuracy up to 500 meters. Ideal for deflection, tilt, strain, and crack monitoring in complex field conditions.
Cotnact:
Introduction
Utilizing an industrial-grade camera, the RSM-FBN(B) captures digital images of bridges, towers, cranes, and other structures at various deformation stages. Through advanced algorithms—including image quality evaluation, target tracking, rapid camera self-calibration, and sub-pixel analysis—it performs precise identification, matching, calibration, and calculation of multiple surface targets. This enables real-time measurement of deformation at each point. The system features high efficiency, high accuracy, target-free operation, and excellent cost-effectiveness.
Applicable standards
Two-dimensional deformation measurement of structures such as bridges, towers, lifting machinery, and buildings. Supports the detection of parameters including deflection, tilt, verticality, angle, geometric dimensions, linear strain, and crack width.
Core advantages
High Testing Efficiency
With advanced digital image correlation technology, the system requires no centering, leveling, or manual target setup—just mount and measure. A single setup enables real-time measurement of multiple target points within a 150-meter range, significantly improving testing efficiency.
High Measurement Accuracy
By leveraging natural texture features of the test surface and applying high-precision matching and tracking algorithms, the system achieves sub-pixel level quantification of deformation. Millimeter-level accuracy is ensured even at distances over 100 meters.
High Interference Resistance
Specifically designed for complex field environments, the system incorporates proprietary anti-interference algorithms that effectively suppress the effects of lighting variations, noise, and other disturbances—ensuring stable and accurate results.
High System Integration
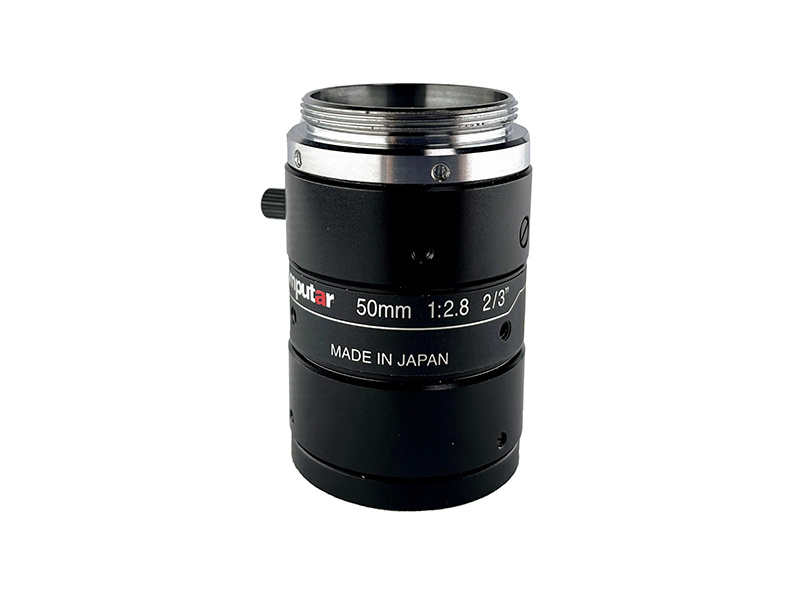
The hardware integrates an industrial camera and multi-parameter sensors, while the software combines image evaluation, pattern matching, auto-calibration, sub-pixel analysis, and anti-interference algorithms. The system supports multi-parameter fusion, flexible configuration, and customizable output.
High User-Friendliness
Featuring a fully integrated software platform for data acquisition, processing, and analysis, the system includes intelligent modules for comprehensive safety assessment. It supports one-click export of professional quantitative reports, offering a user experience that is both streamlined and adaptable.
Technical Parameter
| Working Distance | 0–500 m |
| Measurement Field of View | 0–150 m |
| Resolution | 0.01 pixel |
| Displacement Accuracy | ±0.02 mm (at 10 m), ±1 mm (at 100 m), ±10 mm (at 500 m) |
| Angular Accuracy | 0.05° |
| Strain Accuracy | ≤ 20 με |
| Measurement Frequency | Full-frame: 36 Hz; Adjustable frame: up to 200 Hz |
| Measurement Points | Dynamic deflection: up to 4 points; Static deflection: unlimited |
| Measurement Modes | Real-time on-site mode; Post-processing mode using recorded image sequences |
| Analysis Functions | Median filter, mean filter, digital filter, zero adjustment, curve smoothing, power spectral density |
| Special Features | Multi-report compatibility, threshold warning, field of view analysis, autofocus, data upload |
| Output Results | Impact factor, attenuation coefficient, damping ratio, interval max/min, interval frequency, interval mean, tilt, verticality, angle, convergence, distance, geometric dimensions, line strain, crack width |
| Operating Time | ≥ 8 hours |
| Protection Rating | IP65 |
| Main Unit Weight | 3 kg |
FAQs
Q
Q4: Can this device operate effectively in outdoor or harsh environments?
+
A
A: Yes. The main unit is IP65-rated for dust and water resistance, and it includes anti-interference algorithms to mitigate the effects of light variation, noise, and other environmental factors—ensuring stable and reliable performance.
Q
Q3: How many measurement points can be captured simultaneously?
+
A
A: For dynamic deflection, up to 4 points can be measured simultaneously in real time. For static deflection, there is no limit to the number of measurement points that can be analyzed from captured images.
Q
Q2: What is the maximum working range, and how does accuracy change with distance?
+
A
A: The working distance is up to 500 meters. At 10 meters, the system offers ±0.02 mm accuracy; at 100 meters, ±1 mm; and at 500 meters, ±10 mm. Sub-pixel tracking ensures high accuracy even at long distances.
Q
Q1: Can the RSM-FBN(B) measure deflection without placing any physical targets on the structure?
+
A
A: Yes. The system uses advanced digital image correlation and natural surface texture recognition. It operates in a fully target-free mode—no physical markers are required, allowing for fast setup and immediate measurement.
Previous Page
Next Page
Keyword:
RSM-FBN (B) Non-contact Bridge Static and Dynamic Deflection Tester


